Fridge Odor Rescue: Fast Fixes and a Clean Reset
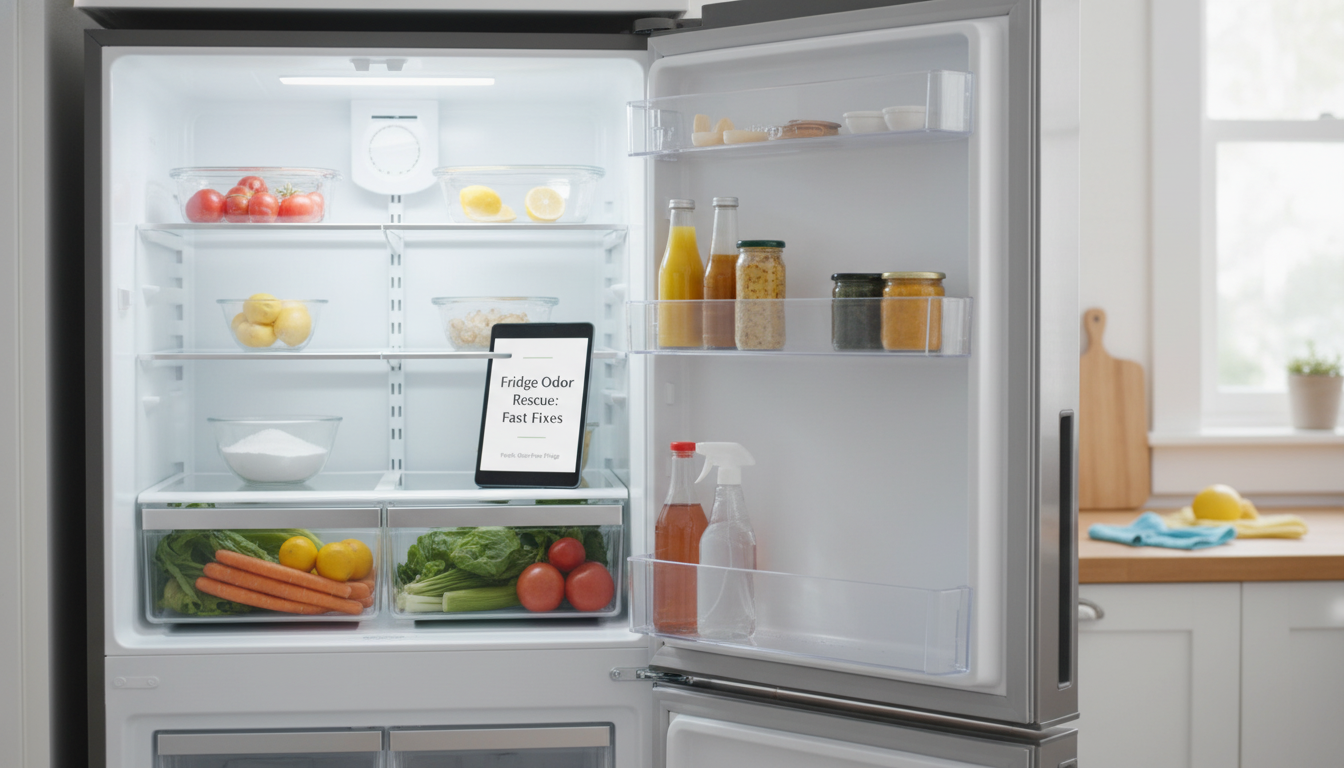
Fridge Rescue: Simple Smell Fixes for a Fresh, Odor-Free Refrigerator
Refrigerator odors usually come from a small source that keeps re-contaminating the air: a hidden spill, expired food, a saturated deodorizer, or a dirty drip pan. The most reliable way to get rid of smells (and keep them gone) is to handle it in three phases: a fast triage to stop the worst offenders, a reset clean that removes residue at the source, and a simple routine that prevents odors from building up again—without harsh products.
Start with a 5-Minute Odor Triage
The goal of triage is speed: remove the main odor source and stop it from spreading into shelves, plastic bins, and seals.
- Remove obvious offenders first: leftovers past their prime, open condiments, cut fruit/onions, and any item with a questionable smell.
- Check common “odor traps”: deli drawers, butter compartment, door bins, egg tray area, and the back corners where drips collect.
- Bag and take trash out immediately; lingering kitchen odors can be mistaken for a fridge smell.
- Wipe any visible residue with warm soapy water; even a thin film can keep odors cycling.
- If the smell is strong, move food to a cooler so shelves and bins can be cleaned without rushing.
Common Refrigerator Smells and the Most Likely Source
| Smell type | Likely cause | Fast fix | Best deep fix |
|---|---|---|---|
| Sour/rotten | Expired leftovers or spills under drawers | Remove items and wipe sticky spots | Pull drawers/shelves; wash and dry fully |
| Fishy | Unsealed seafood or drip in drawer | Double-bag and discard; sanitize drawer | Soak removable parts; clean gasket folds |
| Musty/moldy | Moisture + crumbs; clogged drain; old produce | Toss produce; dry surfaces | Clear drain; clean drip pan; replace filter if present |
| Sweet/chemical | Spilled juice/soda; spilled syrup; strong packaging | Wipe spill and bin | Remove shelves; clean channels and seams |
| Garlic/onion/spice | Aromatic foods not sealed | Repack in airtight containers | Deodorize with baking soda/charcoal for 24–72 hours |
The Deep-Clean Reset That Removes Odor at the Source
If triage helps but the smell lingers, residue is usually hiding in seams, rails, or removable parts. A reset clean removes that “odor fuel” so the air stays fresh after the door closes.
- Unplug if possible (or turn off cooling) and remove all food; place perishables in a cooler with ice packs.
- Take out shelves, drawers, and door bins; wash with warm water + dish soap. Avoid very hot water on glass straight from the cold fridge to reduce cracking risk.
- Clean the interior from top to bottom, including corners and shelf rails where drips hide; use a soft brush or toothbrush for seams.
- Use a gentle deodorizing cleaner: a mix of warm water and a small amount of baking soda works well for many food odors; rinse and dry thoroughly.
- Pay special attention to the door gasket folds; odors and grime cling there and can also prevent a tight seal.
- Dry everything completely before reassembling; trapped moisture can cause musty smells to return quickly.
For food safety, keep your refrigerator at or below 40°F (4°C). The USDA’s guidance is a helpful reference for safe refrigeration temperatures and storage basics: USDA: Refrigerator Storage and Food Safety.
Hidden Spots Most People Miss (Where Smells Keep Coming Back)
When a fridge “mysteriously” smells again after cleaning, the source is often outside the main compartment’s flat surfaces.
If you’re also aiming to keep the appliance running efficiently while reducing odor-causing buildup, ENERGY STAR’s maintenance overview is a useful companion: ENERGY STAR: Refrigerator Maintenance Tips.
Deodorizing Methods That Actually Work (and When to Use Them)
Food Storage Habits That Prevent Odors from Returning
For a quick refresher on safe leftover handling and storage habits, the CDC provides practical food safety basics: CDC: Food Safety and Preventing Foodborne Illness.
When Odors Signal a Maintenance Problem
A Simple Weekly Routine for an Odor-Free Fridge
Digital Guide: Fridge Rescue—Simple Smell Fixes
If you want a printable-friendly plan that keeps the steps straightforward (especially when the smell is strong and time is short), the Fridge Rescue: Simple Smell Fixes (digital guide) breaks the process into checklists you can follow without overthinking.
What’s Inside the Fridge Rescue Guide
| Section | What it helps with |
|---|---|
| Fast triage checklist | Find the main odor source quickly and stop it from spreading |
| Deep-clean steps | Remove residue from shelves, drawers, seams, and gasket folds |
| Hidden-source walkthrough | Address drain/drip pan and other overlooked odor traps |
| Prevention plan | Keep the fridge fresh with short weekly and monthly habits |
For building a stick-with-it routine beyond the initial reset (so monthly swaps and quarterly wash-outs actually happen), The Long-Game Mindset is a helpful companion focused on sustainable habits and consistency.
FAQ
Why does my refrigerator still smell after cleaning?
Persistent smells usually come from hidden sources like the drain hole/tube, drip pan, gasket folds, or vents—or from moisture left behind. Fully dry all parts after washing, then use baking soda or activated charcoal for 24–72 hours to absorb what’s left.
Is baking soda or activated charcoal better for fridge odors?
Baking soda is great for everyday food odors and simple monthly maintenance. Activated charcoal tends to work better for stronger, lingering smells, especially after a spill or a forgotten container, but it needs to be refreshed or replaced as directed.
What temperature helps prevent odors and food spoilage?
Keep the refrigerator at or below 40°F (4°C). Warmer temperatures speed up spoilage, which increases odor and can raise food safety risks.












Leave a comment