Landscape Photography Basics: A Simple Step-by-Step Guide
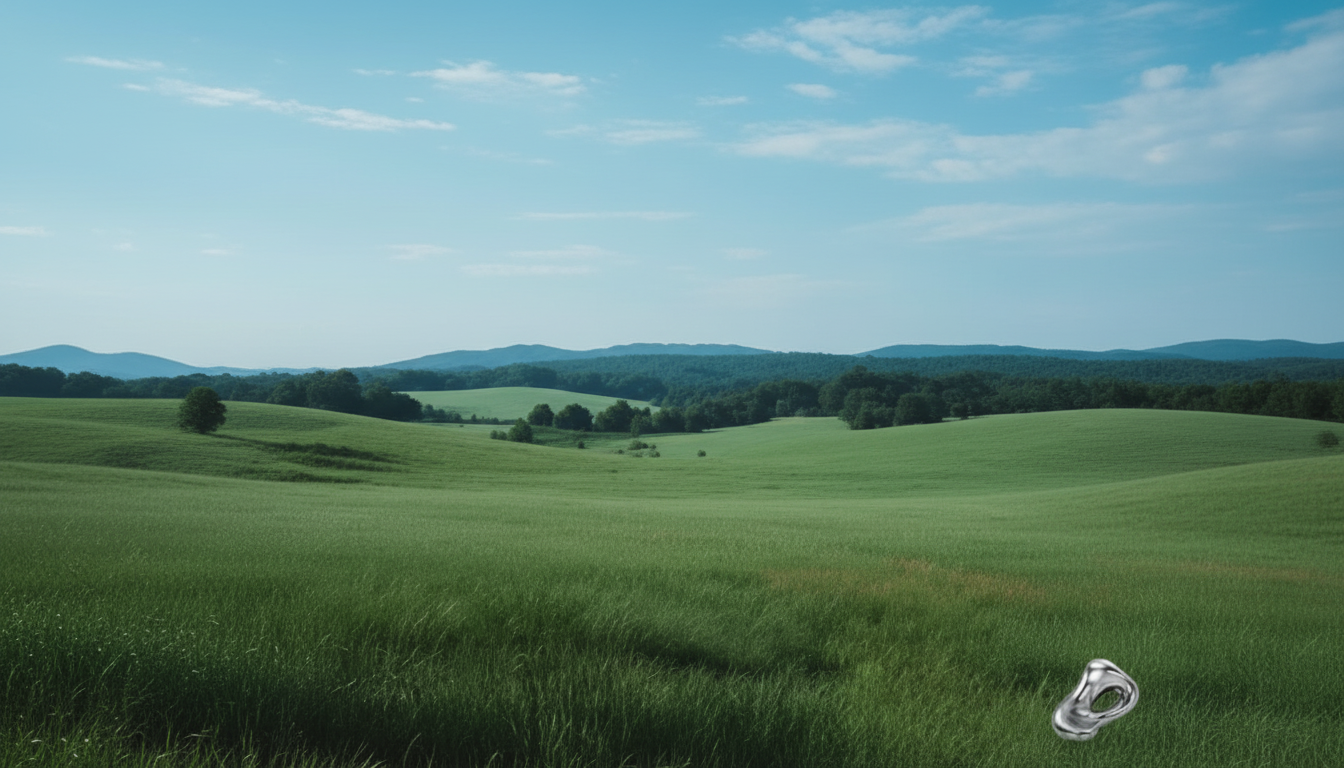
Landscape Photography Basics for Beginners: A Step-by-Step Path to Stunning Outdoor Photos
Great landscape photos come from a simple, repeatable process: plan for the light, build a strong composition, choose steady settings, and finish with a clean edit. The goal isn’t complicated gear or perfect conditions—it’s making consistent choices so outdoor scenes look as vivid and balanced in the final image as they felt in person. For more guidance, see Landscape Photography: 5 Steps to Get You Started.
Start With a Simple Field Workflow
A dependable routine keeps you from rushing once the sky starts changing. Pick a location with a clear subject (a peak, shoreline, lone tree, or dramatic cloud bank) and a supporting background that doesn’t compete with it. Arrive early enough to walk around and scout two or three angles before the best light arrives.
Stability comes first. Use a tripod if you have one; if not, brace against a rock, tree, or even your backpack. Then take a test shot, review your brightest highlights and deepest shadows, and adjust exposure and composition before shooting variations.
Light Basics: When Outdoor Scenes Look Their Best
Light is the difference between a snapshot and a photograph that feels three-dimensional. Golden hour (shortly after sunrise or before sunset) is beginner-friendly because contrast is lower and the warm color helps define shapes. Blue hour (just before sunrise or after sunset) brings cooler tones and more even illumination—excellent for moody mountains, coasts, and cityscapes.
Midday sun is harsh, but it’s not “bad” if you adapt: use open shade, shoot toward the sun with a defined subject, or lean into black-and-white. Weather is a creative tool—broken clouds add texture and direction, mist simplifies backgrounds, and the air after rain often looks clearer and more saturated.
Quick lighting decisions in the field
| Situation | What to do | Why it works |
|---|---|---|
| Bright midday with hard shadows | Move into open shade, or shoot toward the sun with a defined subject | Reduces contrast and prevents clipped highlights |
| Clouds moving fast | Increase shutter speed and take bursts of variations | Captures shifting light patterns on the landscape |
| Sunset with very bright sky | Underexpose slightly or bracket exposures | Protects highlight detail for a more natural sky |
| Fog or haze | Simplify composition; focus on shape and layering | Atmosphere reduces contrast and enhances depth cues |
Composition Foundations That Make Landscapes Work
Composition is your main “editing tool” before you ever touch a slider. Start by anchoring the frame with a foreground element—rocks, flowers, driftwood, or repeating patterns in sand or snow. That foreground creates depth and gives the viewer an entry point.
Be disciplined with the horizon: keep it level, then place it intentionally. Put the horizon high when foreground texture is the story; put it low when the sky is the feature. Look for leading lines—rivers, trails, ridges, fences, shore curves—that guide the eye to your subject. Layering also matters: include near, mid, and far elements so the scene doesn’t feel flat.
If the frame feels messy, simplify. Step left or right, raise or lower your camera, zoom in to remove distractions, or wait a moment for cleaner light on the main subject.
Beginner Camera Settings (Phone or Camera)
Start with a clean, flexible file. If your device allows it, shoot RAW (camera RAW or phone ProRAW/RAW) for better highlight and shadow recovery. For interchangeable-lens cameras, a reliable baseline is f/8 to f/11 for broad sharpness; avoid tiny apertures like f/22 if images start to look soft from diffraction.
For a deeper dive into exposure fundamentals, Cambridge in Colour’s exposure tutorial is a clear reference.
Exposure Made Simple: Protect Highlights, Then Refine
For high-contrast scenes, bracket exposures (for example, -2/0/+2). You can merge later or simply choose the best single frame. Turn on highlight warnings (“blinkies”) to spot overexposed areas quickly. If you want a practical walkthrough of histogram reading, Nikon’s histogram guide is a solid explainer.
Gear That Helps Without Overcomplicating
A Repeatable Shooting Checklist (Step by Step)
Editing Basics for Natural-Looking Results
For color, reduce oversaturation and adjust vibrance before saturation; greens and cyans are the fastest route to unnatural landscapes. Sharpen moderately, apply noise reduction only as needed, and crop/straighten last so you don’t chase mistakes caused by a tilted horizon. If you’re learning composition fundamentals, Britannica’s explanation of the rule of thirds is a helpful refresher.
Common Beginner Mistakes (And Quick Fixes)
Practice Plan: 3 Short Sessions to Build Skills Fast
Downloadable Step-by-Step Guide
If you want a quick refresher to bring on hikes, road trips, and sunrise shoots, the Landscape Photography Basics for Beginners (digital download) organizes planning, composition, settings, and editing into a simple sequence with checklists.
For building consistency with your practice sessions (and sticking with the routine long enough to see results), Long-Term Growth: Build Habits That Last (digital download) can help structure a repeatable learning habit around short, focused shoots.
FAQ
What camera settings should a beginner use for landscape photography?
Use RAW if available, keep ISO low, and on a camera start around f/8–f/11 for broad sharpness. Choose shutter speed based on stability and wind (faster handheld or in moving grass), and bracket exposures when the sky is much brighter than the land.
Do beginners need a tripod for landscape photos?
A tripod helps most in low light, for long exposures, bracketing, and focus stacking. Without one, brace your camera/phone on a rock or pack, use a timer, and prioritize a faster shutter speed to keep images crisp.
How can a phone take better landscape photos?
Clean the lens, use the 1x lens instead of digital zoom, and tap to set focus/exposure on the main subject. If your phone offers RAW/Pro mode, use it, stabilize the phone against something solid, and use HDR/bracketing carefully to avoid unnatural skies.











Leave a comment