10-Minute Kitchen Counter Reset for Clear Surfaces
Why clear counters are easier to maintain than “deep-clean days”
Kitchens collect mess at high speed: coffee rings by the machine, crumbs near the toaster, and that sticky spot that appears out of nowhere. A quick daily reset keeps grime from bonding to the surface, which means less scrubbing later and fewer harsh products needed.
Clear counters also support safer food prep. When you can see the full workspace, it’s easier to keep raw-ingredient zones separate from ready-to-eat items, reducing cross-contamination risk. The biggest hidden win, though, is mental: when everyday items have a consistent home (keys, mail, small appliances), clutter stops creeping back in.
Small habits—wipe, return, disinfect when it’s actually needed—add up to counters that feel “always ready,” even on busy weeks.
What to gather before starting
A simple setup makes the routine fast enough to repeat. Keep these basics in a small caddy under the sink or in a nearby cabinet:
- Microfiber cloths (at least two): one for cleaning, one for drying/buffing to prevent streaks.
- Gentle dish soap: ideal for routine cleaning; skip abrasive powders on delicate finishes.
- Surface-appropriate disinfectant: for higher-risk messes (especially after raw meat contact).
- A small bin or basket: for quick decluttering while you wipe (sort items after).
- Optional scraper/old card: for stuck-on residue—use light pressure to avoid scratches.
The 10-minute daily counter reset (morning or evening)
This routine is designed to be short, repeatable, and realistic—no “all day Saturday” required. Pick a time that fits your household rhythm: right after dinner, after the kids’ lunches are packed, or as a morning reset before work.
Step 1: Clear the surface
Move everything into a “reset bin” or back to its designated home. The goal is a fully open counter so you can wipe in one pass instead of cleaning around clutter.
Step 2: Remove crumbs and loose debris
Shake crumbs into the trash or compost. Wipe debris toward the sink area and dispose of it before introducing soap and water (which can turn crumbs into paste).
Step 3: Wash with warm water + a drop of dish soap
Wipe the entire surface, focusing on corners, seams, and the zones around appliances where dust and grease cling. For sticky spots, let the soapy cloth sit on the area for 20–30 seconds before wiping again.
Step 4: Rinse/wipe to remove soap film
Use a clean damp cloth to remove any remaining soap. This step is a big reason counters look streak-free instead of hazy.
Step 5: Dry and buff
Dry with a second microfiber cloth. Buffing removes water spots, restores shine, and helps keep stainless sections looking clean.
Step 6: Put back only what truly belongs
Return essentials and relocate the rest. If something doesn’t have a “home,” that’s a signal to create one (drawer, shelf, hook, or a small tray).
When to disinfect (and when not to)
Cleaning removes visible mess; disinfecting targets germs when risk is higher. Disinfect after contact with raw meat, seafood, or eggs; after visible spills from higher-risk foods; or when someone in the household is sick.
For everyday crumbs and coffee drips, routine cleaning with soap and water is usually sufficient. Over-disinfecting can be unnecessary and may dull certain finishes over time.
- Follow label dwell time: disinfectants need time on the surface to work; wiping too soon reduces effectiveness.
- Spot-test first: try disinfectants on an inconspicuous area to avoid discoloration or dulling.
For additional guidance on cleaning vs. disinfecting, consult the CDC’s cleaning and disinfecting recommendations and the EPA’s List N disinfectants.
Weekly and monthly maintenance that keeps counters looking new
Daily wiping handles the visible mess. Weekly and monthly touchpoints handle the hidden buildup that makes counters look dull over time.
If you want a broader whole-house approach that keeps chores from piling up, the Mayo Clinic’s housecleaning tips pair well with a simple kitchen reset routine.
Surface-specific care: quick do’s and don’ts
| Surface | Daily clean | Avoid | Extra upkeep |
|---|---|---|---|
| Laminate | Mild soap + damp cloth, dry well | Soaking seams, abrasive scrubbers | Inspect edges for swelling |
| Quartz | Mild soap or stone-safe cleaner, rinse, dry | Abrasives, strong solvents | Wipe spills quickly |
| Natural stone | pH-neutral stone cleaner, soft cloth | Vinegar/lemon/bleach, scouring pads | Seal as recommended |
| Butcher block | Damp wipe, dry immediately | Standing water, harsh chemicals | Oil regularly; sanitize appropriately |
| Stainless steel | Gentle cleaner, wipe with grain, buff dry | Chlorine bleach, rough pads | Use microfiber to prevent streaks |
Keeping counters clear: simple systems that prevent clutter
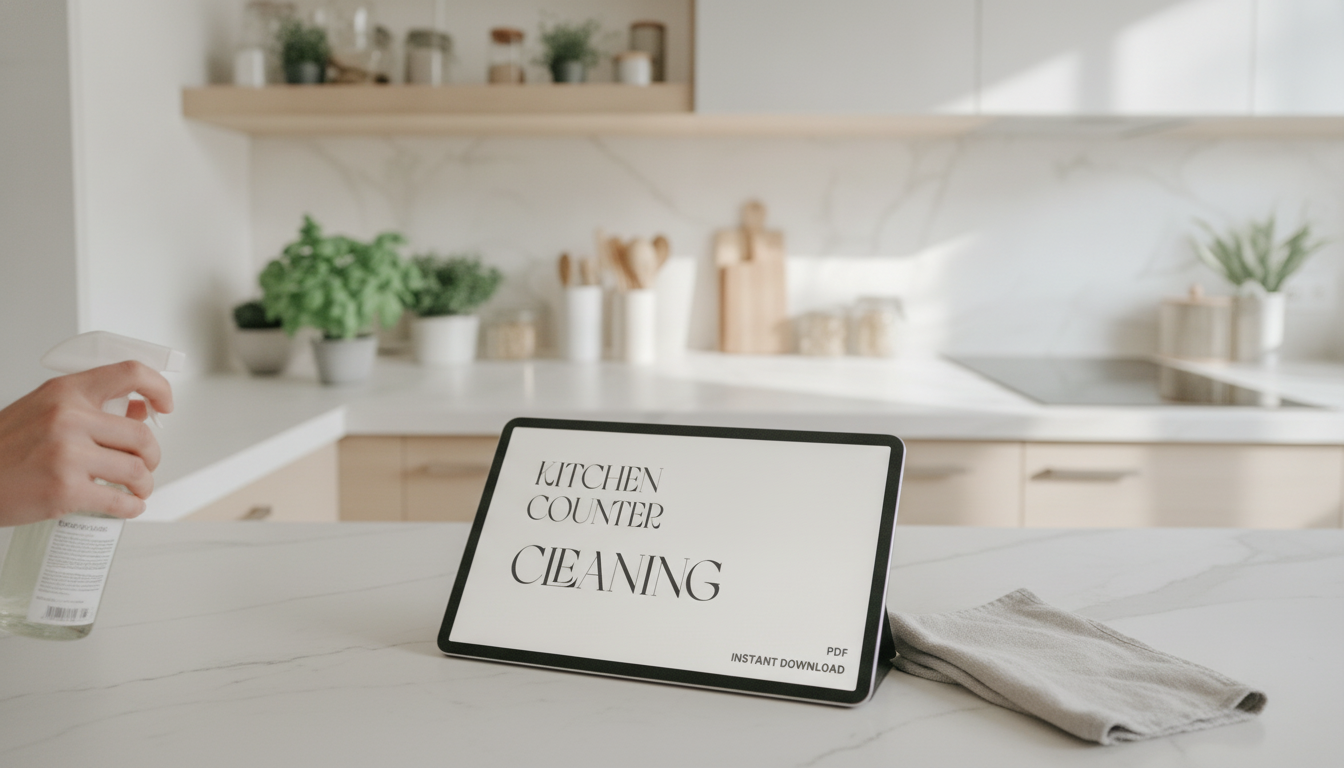
Printable checklist option for a faster routine
If you prefer a ready-to-print guide, The Kitchen Counter Cleaning Checklist (digital download) is designed for quick daily resets and simple maintenance rhythms.
For households that benefit from a small mindset boost while building new routines, Bright Side Up: A Simple Guide to Getting Positive Thoughts Every Day pairs well with habit-stacking—linking a short counter reset to an existing daily anchor.
FAQ
How often should kitchen counters be disinfected?
Disinfect after raw meat/seafood/egg contact, higher-risk food spills, or illness in the household. Otherwise, regular cleaning with soap and water is typically sufficient—just be sure to follow the disinfectant label for contact time when you do use it.
What’s the fastest way to keep counters clear every day?
Do a 10-minute reset: clear the surface into a small bin, sweep crumbs, wipe with mild soap and water, then dry/buff and return only essentials. The bin keeps you moving so decluttering doesn’t derail the wipe-down.
Can vinegar be used on all countertops?
No—vinegar is acidic and can etch natural stone like granite or marble. For stone, use a pH-neutral or stone-safe cleaner and follow the countertop manufacturer’s care guidance.


Leave a comment