Easy Car Interior Cleaning: 10-Min Reset to Deep Clean
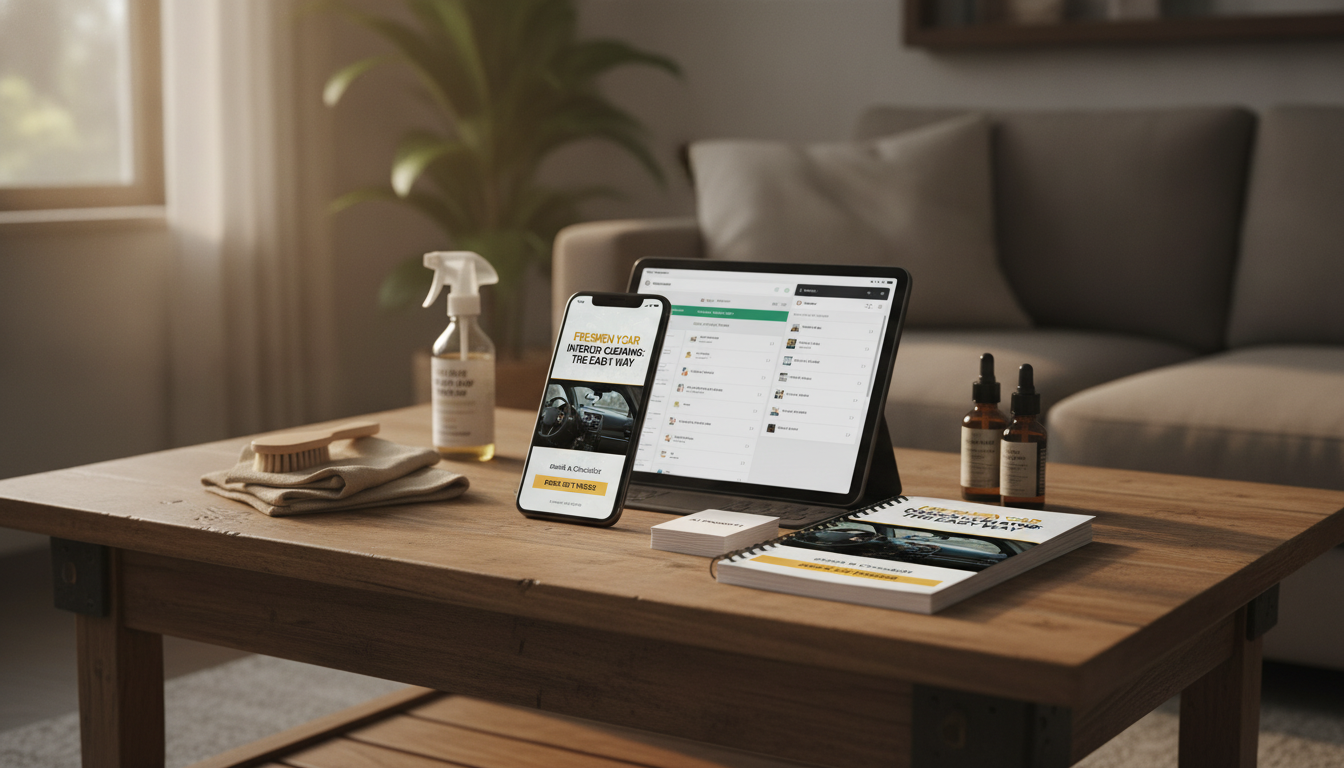
Freshen Your Car the Easy Way: A Simple Interior Cleaning Routine with Checklists and Smart Shortcuts
A clean, fresh car interior feels better to drive, keeps odors from settling in, and makes quick cleanups easier. This guide breaks interior care into a fast reset, a weekly tidy, and a deeper monthly clean—plus simple tools to keep in the glovebox, fabric-safe tips, and smart text templates you can reuse to plan your routine in minutes.
What “fresh” actually means inside a car
“Fresh” isn’t about blasting a strong scent—it’s about removing what causes stale air and sticky surfaces, then keeping the cabin dry and ventilated. Small habits beat occasional marathon cleans.
- Remove sources first: crumbs, spills, damp mats, and hidden trash cause most lingering smells.
- Clean the touch points: steering wheel, shifter, handles, buttons, and screens collect oils and grime quickly.
- Control dust and allergens: vents, carpets, and seat seams trap fine debris that keeps the cabin feeling stale.
- Finish with airflow: drying and venting matters as much as wiping—especially after any wet cleaning.
If you’re sensitive to strong chemical smells, it helps to choose milder products and ventilate well. The EPA’s indoor air basics are a useful reference for understanding how certain chemicals can affect air quality: Volatile Organic Compounds (VOCs) and indoor air quality.
The 10-minute reset (perfect before errands or guests)
This is the “make it feel normal again” routine. It’s designed for speed: eliminate odor sources, remove grit, and wipe the places your hands touch.
- Trash sweep: empty door pockets, cupholders, center console, and under seats.
- Shake out mats: knock debris loose before vacuuming.
- Quick vacuum: focus on driver footwell, seat seams, and between seats.
- Wipe essentials: steering wheel, shifter, armrests, and frequently touched buttons with a damp microfiber.
- Odor check: remove damp items (gym clothes, umbrellas) and crack windows for 2–3 minutes.
10-minute reset checklist
| Step | Where to focus | Goal |
|---|---|---|
| Trash sweep | Cupholders, console, door pockets | Remove odor sources |
| Mats out | Front mats first | Stop grit from spreading |
| Vacuum hot spots | Seat seams, footwells, under seats | Lift crumbs and dust |
| Wipe touch points | Wheel, shifter, handles | Reduce grime and smudges |
| Air out | Windows/doors briefly | Dry the cabin, refresh air |
The weekly tidy (20–30 minutes that prevents big messes)
Weekly care is where the cabin starts to feel consistently “new” again. The trick is working top-to-bottom and keeping moisture under control.
- Vacuum method: start high (seats) then floors so debris falls downward once.
- Detail brush trick: use a soft brush for vents, seams, and around buttons while the vacuum nozzle hovers nearby to catch what you loosen.
- Glass done last: interior glass attracts haze; finish after wiping plastics to avoid re-smearing.
- Spot clean spills immediately: blot fabrics, don’t rub; use minimal moisture to prevent mildew.
When choosing cleaners, stick with gentle, label-directed use and don’t mix products. The CDC’s general guidance helps reinforce safer cleaning practices and common-sense ventilation: Cleaning and disinfecting guidance.
The monthly deep clean (60–90 minutes, done in phases)
Deep cleaning doesn’t have to be exhausting if you split it into phases: declutter, dry clean (vacuum/brush), then targeted wet cleaning with a solid dry-out step at the end.
- Declutter fully: remove child seats (if possible), trunk items, and loose organizers before cleaning.
- Fabric seats and carpets: pre-vacuum thoroughly, then spot treat stains; avoid soaking padding.
- Leather or leatherette: use a gentle cleaner and finish with a conditioner appropriate for automotive surfaces.
- Plastics and trim: use a mild interior cleaner; avoid shiny dressings that can create glare on dashboards.
- Vents and filters: check the cabin air filter if odors persist or airflow feels weak.
- Dry time: leave doors open in shade when safe, or run A/C briefly to reduce humidity after cleaning.
If you remove a child safety seat for access, reinstall it correctly before driving. The NHTSA’s resources are a reliable reference: Child passenger safety.
Tool kit to keep the routine easy
The fastest way to stay consistent is keeping a small set of tools in the car so you don’t have to “start a project” to clean.
Smell control that lasts (without over-fragrancing)
Smart text templates to plan the next clean in seconds
A ready-to-use digital guide and checklist for staying consistent
- Freshen Your Car the Easy Way: Ultimate Digital Guide, eBook & Checklist for Interior Cleaning, Smart AI Prompts & Easy Car Care Routine (digital download): a structured interior cleaning flow that reduces decision fatigue, with checklists for quick resets and deeper cleans.
- Bright Side Up: A Simple Guide to Getting Positive Thoughts Every Day (digital download): a simple mindset companion for building small routines you can stick with—helpful when consistency is the real challenge.
FAQ
How often should a car interior be cleaned?
Use a 10-minute reset as needed (especially after meals, carpools, or muddy days), a weekly tidy for most drivers, and a monthly deep clean for seats, carpets, and vents. Increase frequency for kids, pets, allergies, or humid climates where moisture and odors build faster.
What is the best way to remove odors from a car interior?
Remove the source first (trash, damp mats, spilled food), vacuum thoroughly, and make sure everything fully dries. Use enzyme cleaners for organic odors, check the cabin air filter if smells persist, and air out on fresh-air mode instead of masking with heavy fragrance.
How can stains be cleaned without damaging upholstery?
Blot immediately, test any product on a hidden spot, and use minimal moisture so padding doesn’t stay wet. Avoid harsh solvents; use fabric-safe cleaners for cloth and gentle, automotive-approved products for leather or leatherette, then dry thoroughly with airflow.


Leave a comment